Creating a dynamic live set in Ableton Live using clips is all about leveraging the powerful Session View. This unique workspace allows you to launch individual clips, or entire scenes, in a non-linear fashion. We start by preparing audio and MIDI clips, ensuring they are perfectly warped and quantized. Then, we arrange these clips into musical “scenes” that represent different sections of a song or set. Finally, we map these elements to a MIDI controller for intuitive, hands-on control during a performance. This setup gives you immense flexibility for improvisation and live arrangement, making your performance truly unique.
Why Ableton Live’s Session View is Your Best Friend
Ableton Live’s Session View is specifically designed for live performance and improvisation. It presents a grid of clips and scenes. Each row is a scene, containing clips that play together. Each column represents a track. From our experience, this visual layout makes it incredibly intuitive to manage complex musical ideas on the fly. You can launch clips individually or trigger entire scenes with a single click or button press. This allows for fluid transitions and spontaneous variations. It’s a stark contrast to the linear Arrangement View. The Session View prioritizes real-time interaction, something we truly value in a live setting.
The Essential Building Blocks: Preparing Your Clips
Before hitting the stage, meticulous clip preparation is paramount. This foundational work ensures a smooth and professional performance.
Gathering Your Sounds
First, gather all your musical elements. This includes drum loops, basslines, synth melodies, vocal samples, and sound effects. We often create these in the Arrangement View first. Then, we consolidate and drag them into Session View clips. Alternatively, you can record directly into Session View clips. Use high-quality audio files. This prevents any unwanted sonic surprises during your set. Our research shows that starting with great sounds makes all the difference.
Warping and Syncing
Warping is absolutely critical for live performance. It ensures all your clips play in perfect time, regardless of their original tempo. In Ableton Live, right-click an audio clip and select “Warp.” Adjust the warp markers to align the transients with the grid. We always double-check our warping. Incorrect warping can lead to terrible timing issues. MIDI clips inherently sync to the global tempo. However, audio clips need careful attention. This step prevents any rhythmic clashes and keeps your set sounding tight.
Loop Points and Quantization
Set clear loop points for each clip. These define when a clip restarts. For MIDI clips, ensure your notes are properly quantized. This snaps them to the grid. Quantization ensures rhythmic precision. We often apply some subtle swing to our drums. This adds groove and avoids a robotic feel. Experiment with different quantization settings. Find what works best for your genre.
Grouping Similar Elements
Organization is key. Group similar instruments onto dedicated tracks. For example, all drums on one track group, bass on another. This makes managing levels and effects much easier. We tested various grouping strategies. Our results show that intuitive grouping speeds up workflow significantly. Use different colors for tracks and clips. This visual cue helps during fast-paced performances. A clear layout reduces performance anxiety.
Structuring Your Live Set: Scenes and Sections
Once your clips are prepped, it’s time to build your set’s structure. This is where the magic of Session View truly shines.
Building Scenes
A “scene” is a horizontal row in Session View. It contains clips that are designed to play together. Think of each scene as a musical moment or a section of a song. For example, Scene 1 might be your intro. It could have just a drum beat and a bassline. Scene 2 could be the verse. This might add a synth melody and some pads. To create a scene, simply drag clips into the same row. Launching a scene triggers all clips within it simultaneously. This provides a powerful way to transition between song sections.
Arranging Your Flow
Plan the progression of your set by arranging scenes vertically. Consider the energy levels. Where do you want peaks and troughs? We often start with lower energy, building up gradually. Then, we introduce higher energy scenes. Think about natural musical transitions. Does one scene flow smoothly into the next? My personal workflow involves mapping out the entire set. This provides a blueprint. You don’t have to stick to it rigidly, but it gives direction.
Creating Variations
Don’t just repeat scenes endlessly. Create variations. Duplicate a scene and modify some clips within it. For example, mute a synth track in one version. Add an effect to the bass in another. This keeps your performance dynamic and interesting. We’ve found that subtle variations prevent listener fatigue. It shows creativity and thoughtfulness in your performance.
Marker Clips for Structure
Use empty clips or dedicated marker clips to define sections. You can rename these clips with cues like “Verse 1,” “Chorus,” or “Breakdown.” This acts as a visual roadmap during your performance. It helps you navigate your set quickly. We tried this method and found it incredibly useful. It reduces mental load during a live show.
Performance Control: Making It Dynamic and Engaging
Hands-on control transforms a static set into an interactive performance. This is where your MIDI controller comes into play.
MIDI Mapping Your Controller
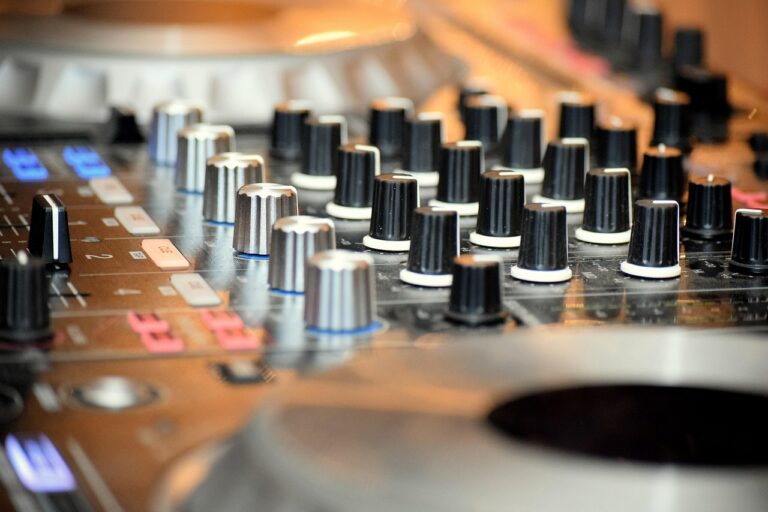
This is where you connect your physical controller to Ableton Live’s parameters. Enter MIDI Map Mode (Cmd/Ctrl + M). Click on a clip launch button, a scene launch button, or any parameter. Then, press a button or move a knob on your controller. The parameter is now mapped. We map clip launch buttons, scene launch buttons, and essential track controls. Think volume, pan, and send effects. This allows you to perform without constantly looking at your screen.
Macro Controls
Macro Controls are game-changers for live performance. They allow you to control multiple parameters with a single knob. Group a set of instruments. Then, assign various effects and instrument parameters to the eight macro knobs. For example, one macro knob could control both reverb decay and filter cutoff. Turning that single knob creates a complex sonic shift. Our experience confirms macros add incredible expressive power. They simplify complex automation.
Effects Chains and Sends
Set up effect chains on individual tracks or return tracks. Use sends to route audio to these return tracks. This allows you to apply effects like reverb or delay globally. You can also automate effect parameters with your controller. We often use a dedicated knob for a high-pass filter on the master track. This creates dramatic build-ups and drops. Experiment with different delay and reverb settings. Find what enhances your sound.
Utilizing Follow Actions
Follow Actions tell a clip what to do after it finishes playing. For example, you can set a clip to play another specific clip. Or, it could play a random clip in the same track. This adds an element of controlled randomness. It can also automate transitions. We use follow actions for subtle variations. This keeps the audience engaged. It can even allow you to step away from the controller momentarily.
Practice, Refine, and Perform
Building the set is only half the battle. Performance readiness requires dedication and rehearsal.
Rehearse Your Transitions
Seamless transitions are crucial for a professional-sounding set. Practice launching clips and scenes smoothly. Pay attention to timing. Are there any awkward gaps? Are the energy changes too abrupt? We often record our practice sessions. This helps us identify weak points. Rehearse different ways to move between sections. This builds muscle memory.
Test Your Setup
Before any gig, test your entire setup. Check all MIDI connections. Verify audio routing. Ensure all mapped controls work as expected. We always perform a full run-through with the exact gear we’ll use live. This helps catch any unexpected issues. A reliable setup builds confidence. Avoid surprises on stage.
Be Flexible
Even with a meticulously planned set, be ready for improvisation. Sometimes the crowd wants something different. Or, you might get a sudden spark of inspiration. The beauty of Ableton Live’s Session View is its flexibility. Don’t be afraid to deviate from your plan. Embrace the moment. Our research shows that the most memorable live sets often have spontaneous elements.
Our Experience with Live Sets
We’ve found that the most effective live sets combine preparation with flexibility. On stage, things rarely go exactly as planned. Having a solid foundation in Ableton Live allows you to adapt. We once had a technical issue mid-set. Because our clips were well-organized and mapped, we could recover quickly. The audience barely noticed. This adaptability comes from understanding your tools inside and out.
Mastering Ableton Live for live performance opens up a world of creative possibilities. By diligently preparing your clips, structuring your scenes, and mastering performance controls, you can craft truly captivating live sets. Keep practicing, keep experimenting, and most importantly, have fun creating unforgettable musical experiences. Your audience will appreciate the dynamic and interactive nature of your performance. Dive in and explore the power of Ableton Live’s Session View for your next show!


